How To Choose The Right Trail Cameras
In the thick of the rut or during early archery season, having a trail camera that just works can be the difference between filling your tags and coming home empty-handed. Whether you're monitoring scrapes, keeping tabs on game activity near water sources, or scouting new bedding areas, your trail camera needs to be reliable, straightforward, and capable of withstanding the harshest conditions in the woods.
There’s no need for gimmicks—what matters is getting clear images day and night, durable build quality, and simple setup. In this guide, I’ll walk you through the key factors to consider so you pick a camera that performs when it counts, no matter if it’s 5 AM freezing rain or late season snow.
Table of Contents
Understanding Camera Types
Trail cameras come in a few primary varieties, each suited for different hunting scenarios. The most common are standard game cameras, which are designed to be discreet and efficient, and cellular cameras, which send images remotely via cellular networks. If you’re after a simple setup to monitor a choke point or scrape line, a standard camera will do. For more advanced scouting or managing remote property, cellular models give you real-time info without extra trips, but they do come with recurring costs.
Choosing the right camera depends heavily on your terrain, the game you're after, and how often you plan to check your setup. For early season archery, where close, low-impact hunting is key, a discreet camera that blends in naturally and provides high-quality images is essential.
Key Features to Look For
Not all trail cameras are created equal. Focus on core features that impact performance—resolution, trigger speed, recovery time, and night vision. A good rule of thumb is to look for at least 12MP resolution so you can read tags or distinguish animals at a glance. Trigger speed should be under 0.5 seconds; every moment counts when a buck steps out after a quiet phase during the rut.
Night images matter almost as much as daylight photos. Look for infrared or dual-spectrum LEDs that give clear black-and-white images without spooking game. No one wants to see their target illuminated in red or white light, so keep that in mind when choosing your setup.
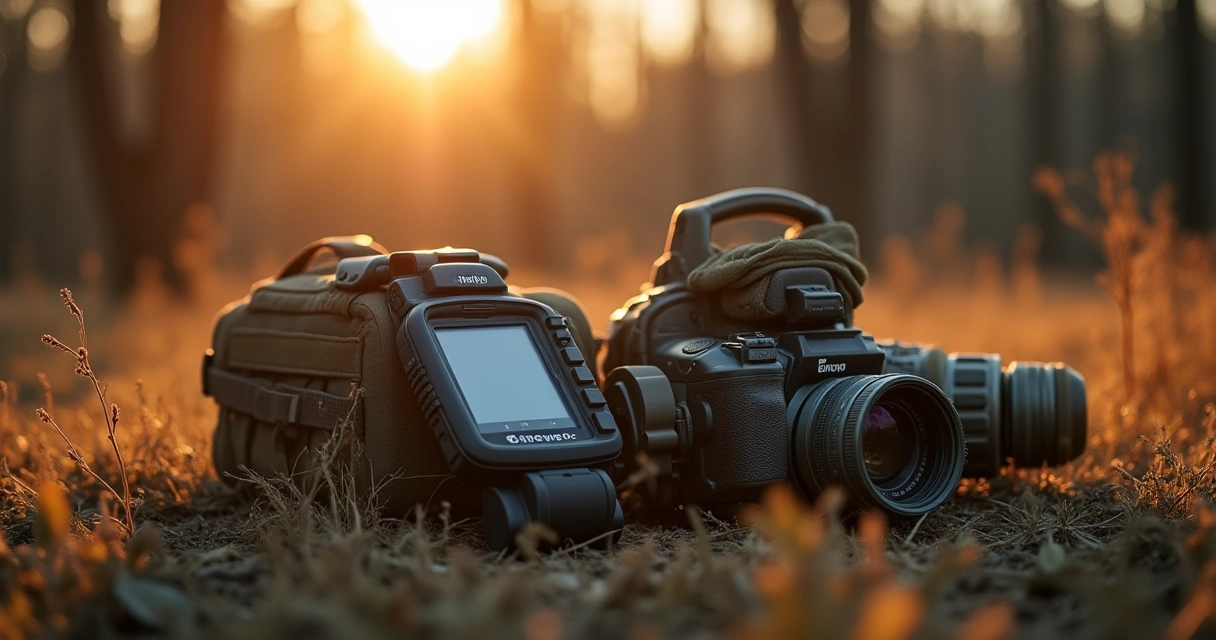
Durability & Power Options
When you’re shoulder-deep in December snow or crawling through thick brush in early spring, your gear needs to stand up. Look for cameras with rugged, weatherproof casings rated IP66 or better. Features like sealed lid compartments and solid mounting options prevent water or dust from ruining your investment.
Power is another critical factor. Traditional AA battery-operated cameras can last 6 months or more if configured correctly, but high-drain features like high-resolution images and frequent trigger rates will deplete batteries faster. Consider solar panel options or higher-capacity lithium batteries for longer deployments.
Setting Up for Success
Installation is more art than science. Place your camera about waist-high, facing trails, game paths, or feeding areas. Avoid busy branches or clutter that can trigger false images. A stable, weatherproof mount—like a tree strap or mounting block—is a must; loose placement will lead to shaky images or camera shake on windy days.
Align your camera to get an optimal view—roughly 10-15 yards out—so you can identify targets clearly without wasting storage space on footage from too-close angles. Always stabilize cameras with security boxes or locks, especially if you're in accessible areas with heavy human traffic or theft risk.
Placement & Field of View
Some hunters stake out known game trails or wallows, but don't overlook vantage points that give you more comprehensive coverage. For rutting bucks roaming more broadly, positioning your camera on the edge of bedding areas or near feeding sites can produce better, consistent results.
Keep your camera's field of view wide enough to catch movement but focused enough to get detailed images. Generally, a 60° to 70° angle is ideal; wider can cause distortion, and narrower might miss the action. Adjust your camera level and angle seasonally, as game behavior shifts.
Practical Tips from Decades in the Field
Over the years, I’ve learned that simple, no-nonsense setups often outperform high-tech gimmicks. Test your camera on a trail in different weather conditions. Wait patiently, then review your images for clarity and trigger reliability. During late season cold snaps, keep batteries warm—carry extras in your pack to swap in as needed. When deploying cameras in remote areas, always mark the GPS coordinates, and consider using multiple cameras if big bucks or dense bedding cover a large area.
In waterfowl habitats, I prefer waterproof boxes and cameras with infrared flash, so I don’t spook ducks during early mornings. Remember, the more consistent your setup is, the better your data—and feeding and bedding patterns will be clear, aiding you in planning your next outing.
Frequently Asked Questions
How long do trail camera batteries last in cold weather?
In freezing conditions, expect batteries to last about half the normal time—often 2-3 months. Lithium batteries are your best bet for cold weather since they perform better than alkalines.
Can I set up my trail camera near water or in the rain?
Yes, just ensure it’s in a weatherproof enclosure, and avoid openings that can fill with water. Secure the camera high enough to stay dry and avoid false triggers from splash or moving foliage.
How do I prevent theft or vandalism of my trail cameras?
Use security boxes, camouflage, and lock cables. Position cameras in hard-to-access spots or areas with high natural cover. Sometimes, just keeping the camera out of direct sight works wonders.
How close can I place my camera to heavily travelled trails?
About 10 yards is good; closer may cause too many false triggers or spook animals. Adjust based on your target species and terrain.
What should I do after removing a trail camera at the end of the season?
Clean it off, check for any damage, and store it in a dry, temperature-controlled place. Review your images and notes so you’re ready for next season with improvements or new setups.
In the end, choosing the right trail camera isn’t about fancy features or the latest tech—it’s about understanding your terrain, knowing what your game responds to, and relying on durable, straightforward gear that performs season after season. Be deliberate with your placement, respect the woods, and your camera will be a trusty scouting partner for years to come.